Access via Snowflake (private listing)
This document explains how to access a Zus private data listing shared to your Snowflake account. Private listings allow organizations to securely share data directly with specific Snowflake accounts without making the data publicly discoverable in the Snowflake Marketplace.
Requirements
To receive a private listing from Zus, your organization must have a Business Critical Account.
Please reach out to your account manger and provide the following information:
- Confirm the account is using Business Critical Edition and that your organization has signed a BAA with Snowflake
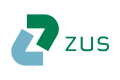
- Snowflake Region (e.g. Azure East US 2)
- Account Locator (format should be XXX######, 3 letters followed by 6 numbers)
- Organization name (i.e. SELECT CURRENT_ORGANIZATION_NAME())
- Account name (i.e. SELECT CURRENT_ACCOUNT_NAME())
The screenshot below demonstrates how to find this information for your account in Snowflake.
To accept a private listing, you must have sufficient permissions in your Snowflake account.
Typically this requires the ACCOUNTADMIN role or another role with permissions to:
-
Accept data shares
-
Create databases from listings
If you do not have the necessary permissions, please contact your Snowflake administrator.
How to Accept the Listing
Follow the steps below to accept the shared listing.
1. Log in to Snowsight
Open your Snowflake account in Snowsight (the Snowflake web interface).
2. Navigate to External Listings
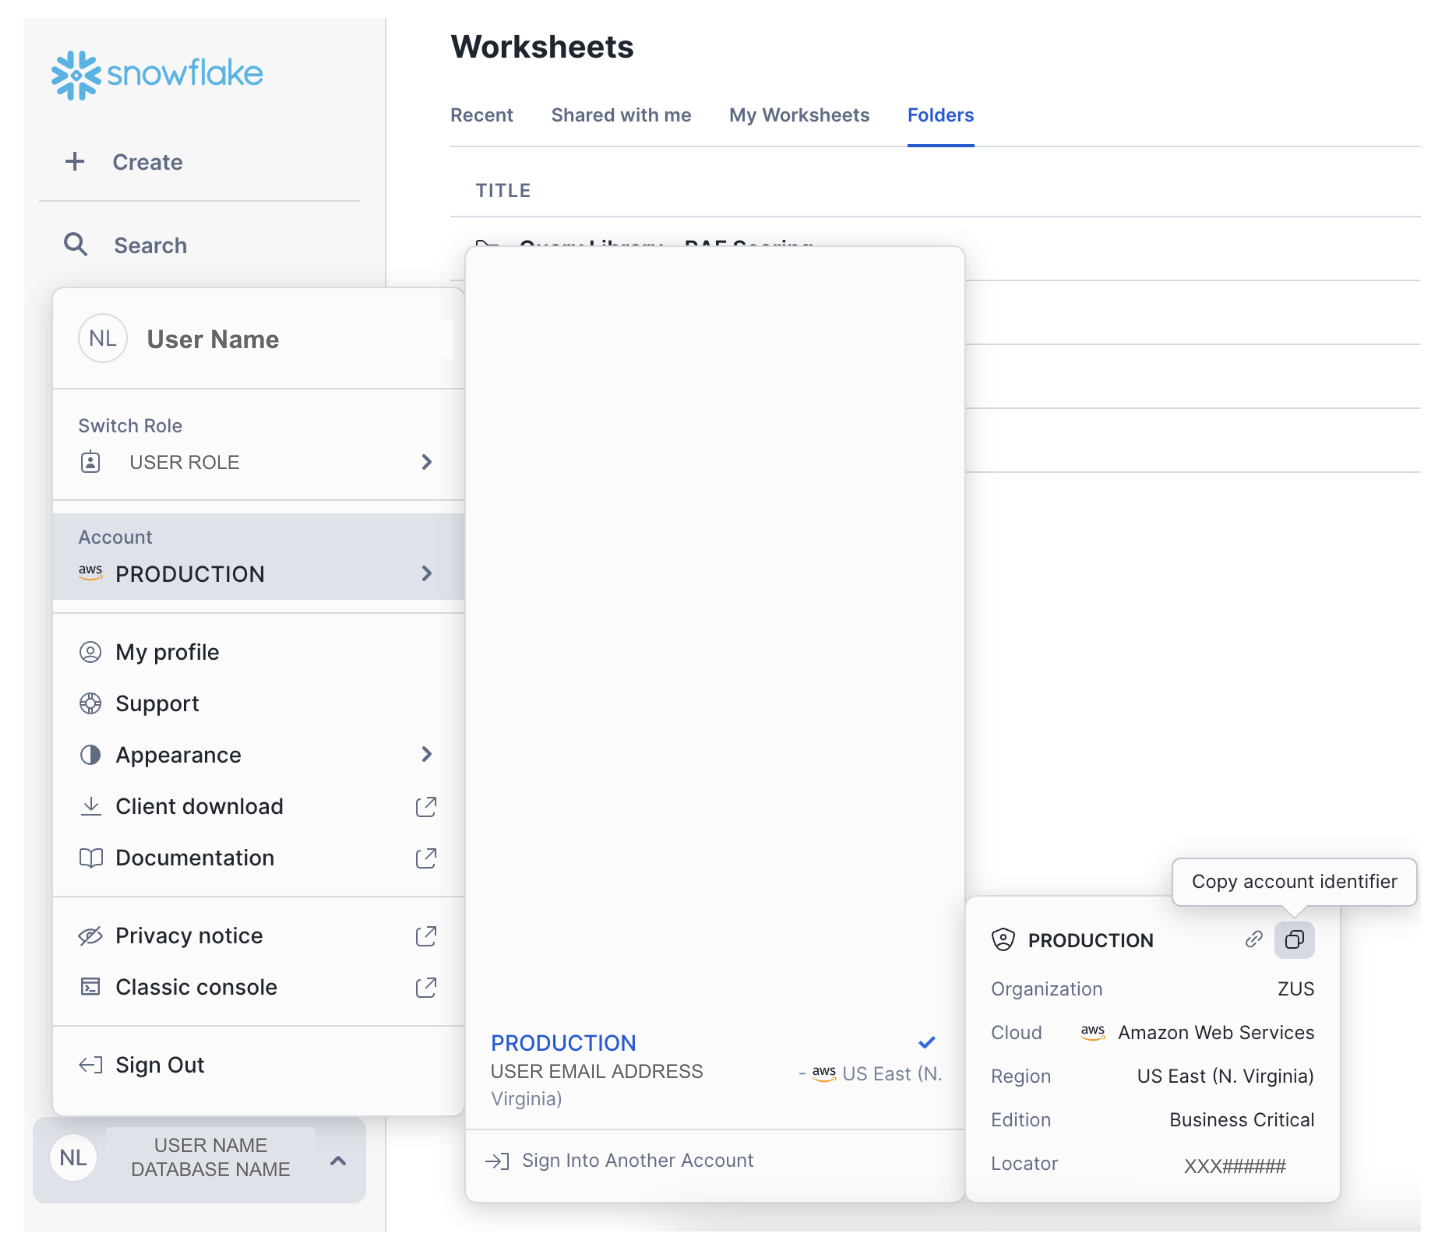
In the left navigation menu:
-
Click Data Sharing
-
Select External Listings
This page shows private listings that have been shared directly with your Snowflake account.
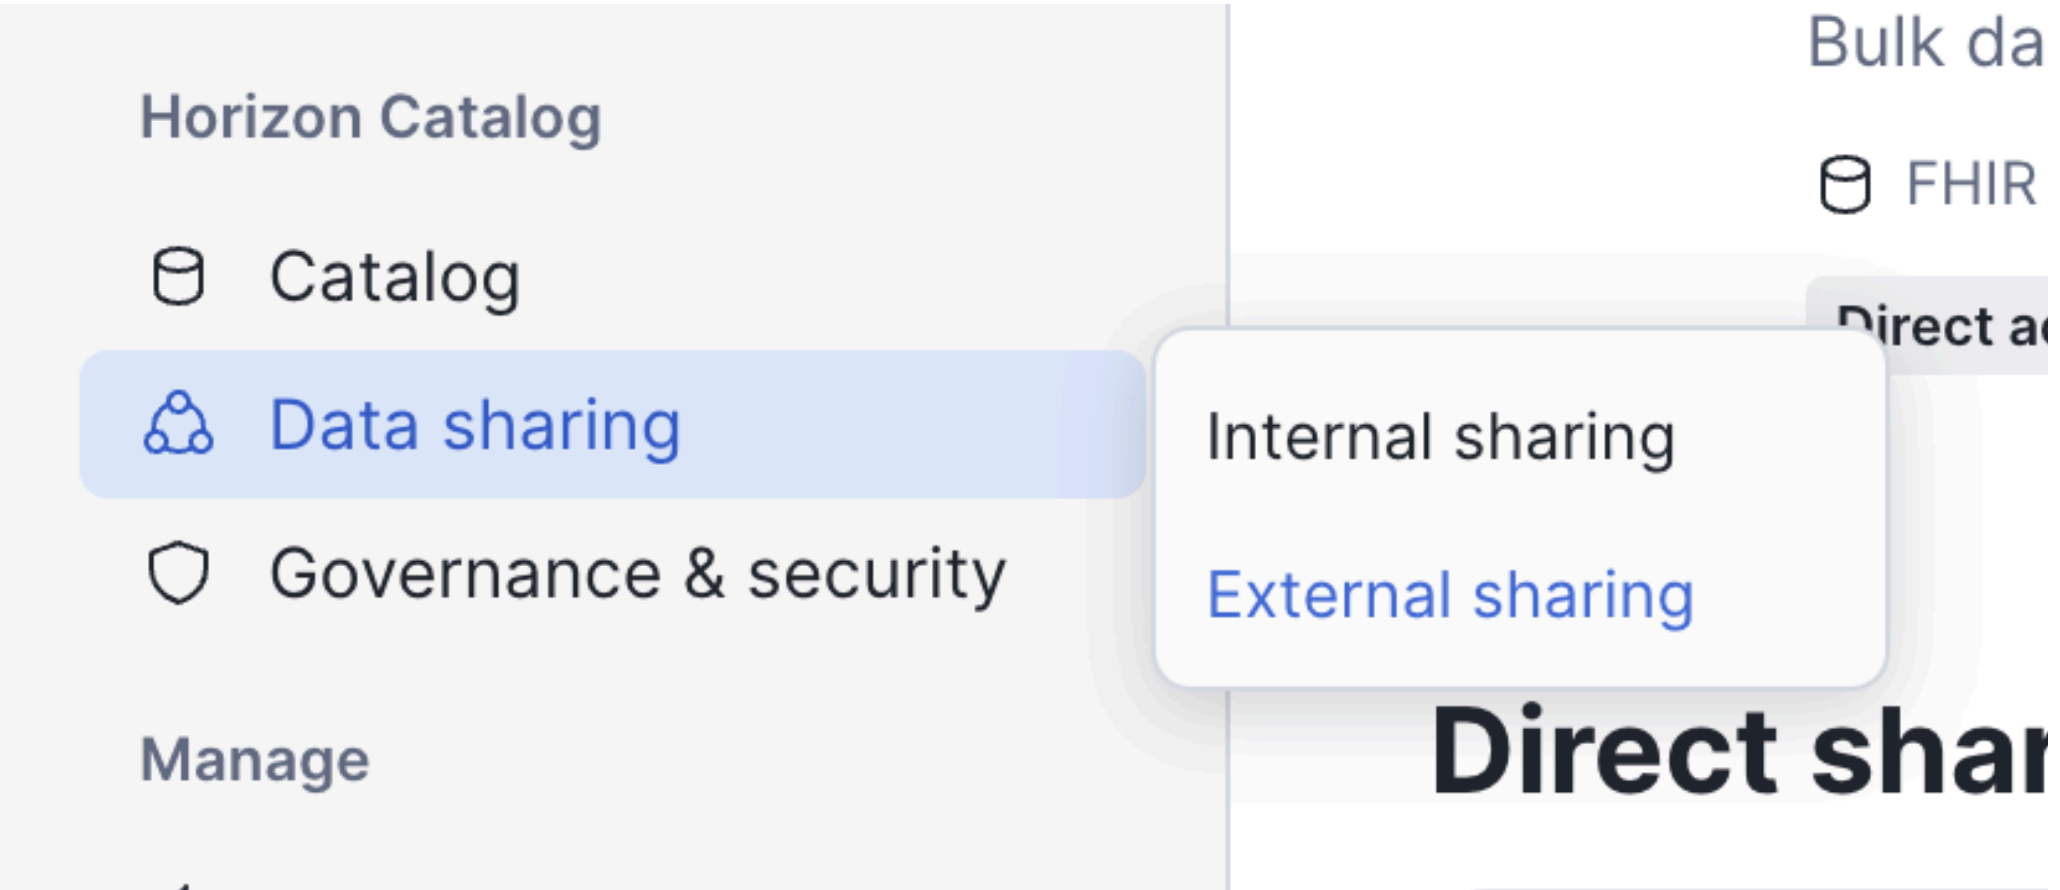
3. Locate the Shared Listing
Find the listing that has been shared with your organization.
Each listing will appear as a card displaying information about the provider and available data.
4. Click Get
Click the Get button on the listing card.
Snowflake will open a dialog that walks you through accepting the listing and creating a database from the share.
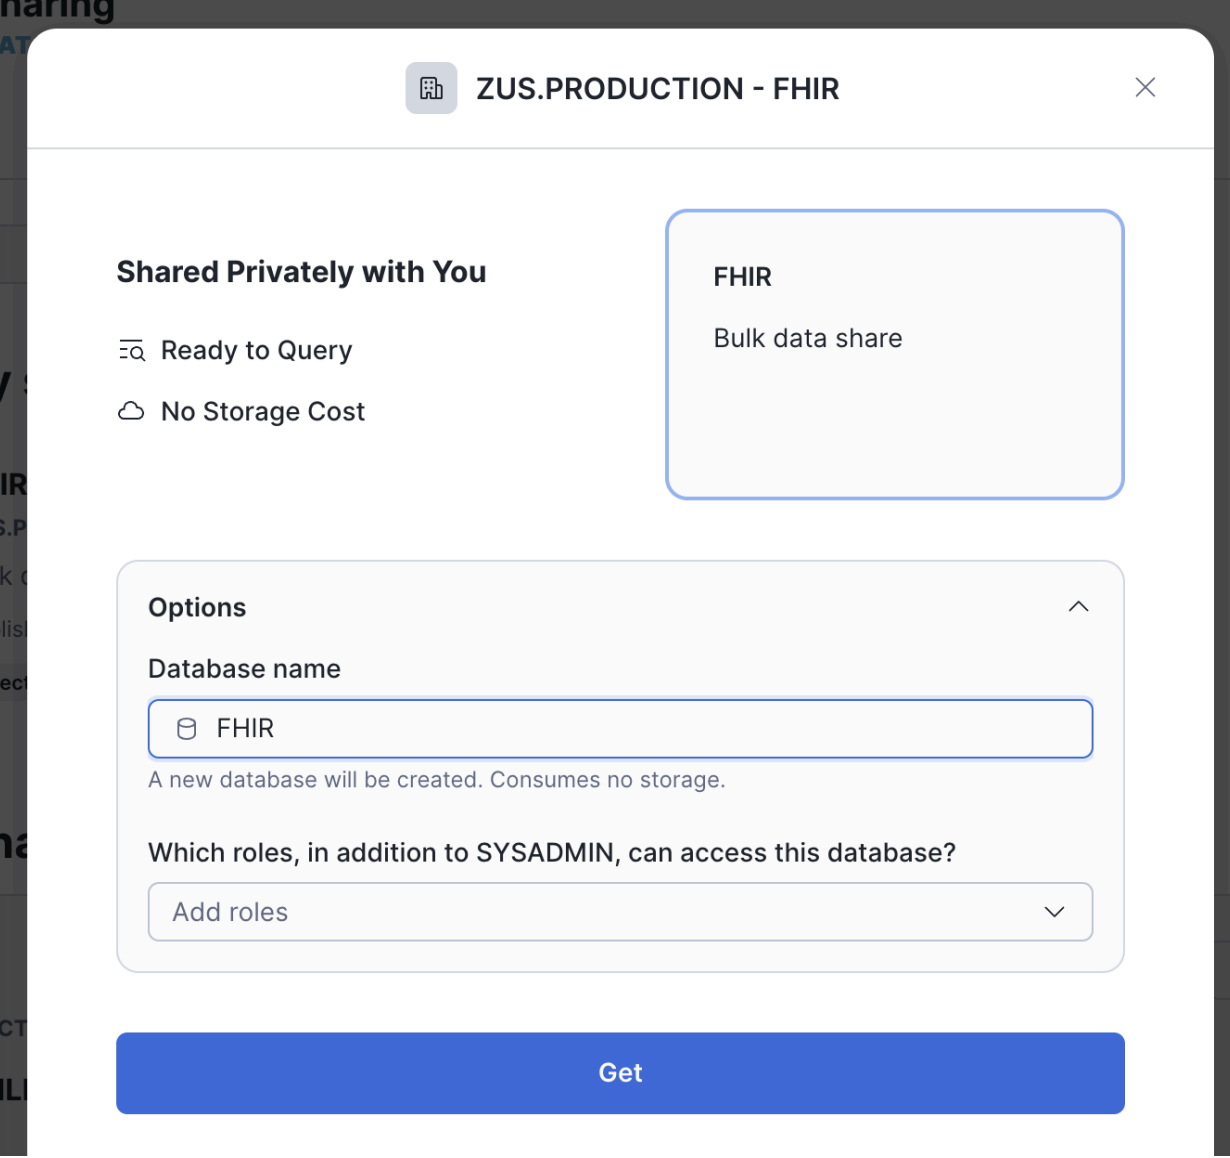
5. Choose a Database Name
Snowflake will prompt you to create a database in your account from the listing. Snowflake will provide a default database name for the listing (e.g. FHIR), which can be updated.
Once confirmed, Snowflake will create a database in your account backed by the shared data.
For some regions, when accepting for the first time, Snowflake may take ~10 minutes to begin regional replication before the data can be accessed.
Accessing the Shared Data
After accepting the listing, the shared data will be available as a database in your Snowflake account.
You can explore the data using Snowsight or SQL queries.
Example:
- SHOW SCHEMAS IN DATABASE FHIR;
- SHOW TABLES IN SCHEMA FHIR.RELATIONAL_V1_SECURE;
Granting Access to Other Roles
The database created from a listing uses imported privileges. This means access must be granted explicitly to other roles in your account.
To allow another role to access the shared data, run:
GRANT IMPORTED PRIVILEGES
ON DATABASE <database_name>
TO ROLE \<role_name>;
Replace:
-
<database_name>with the database name you chose -
<role_name>with the role that should have access
After this grant is applied, users with that role will be able to query the shared data.
Updated 2 months ago